#SCD
Slowly Changing Dimensions (SCD) (dimension data that is slowly and unpredictably updated over time, instead of being updated regularly) are usually an important part of any data warehouse implementation. With SQL Server 2016, Microsoft gave us temporal tables, which lets us automatically keep a history of data changes in a table.
In this article, we are going to explain how to implement a type 2 SCD, with start and end dates in Power BI, using SQL Server temporal tables.
Step 1: Create the temporal table in SQL Server
First of all, we need the data that will be loaded into Power BI. For this example, we create two tables, a system versioned “Product” which is our dimension and a “Sales” table containing our facts. We added one record to the product table for product “Product 1” with a price of 35.45 and added three records to the “Sales” table for that product.

Later, we update the price for “Product 1” from 20.00 to 35.45, and add a new purchase to the “Sales” table.

If we join the two tables taking the dates into account, we would expect to see 7 purchases for the product at a price of 20.00 and one purchase at the price of 35.45. If we load the tables directly into Power BI and join them through the ProductId field, we see that we aren’t achieving the desired effect. We’re getting the data for the dimension from the temporal table, not the history table.


To get the history to appear in our Power BI report we’ll need to load the “Product” history table using SQL and apply some logic to the data import to correctly join it to the “Sales” table.
Step 2: Load the history table and add index columns in Power BI
Using the “FOR SYSTEM_TIME ALL” statement we can get the data from the history table and load it into Power BI.

We then rename this new table to “ProductSCD” to differentiate it from the “Product” table in our example. We now have three tables in our model, “Product”, “ProductSCD” and “Sales”.

The next step will be to add a unique index column to the “ProductSCD” table, and add logic to link that table to the “Sales” table using the new index. In the query editor, we add the index column to the “ProductSCD” table by clicking on “Add Column > Index Column > From 1”. This will create a column named “Index” to the table that starts with the number 1. We then rename the column to “ProductIndex”.

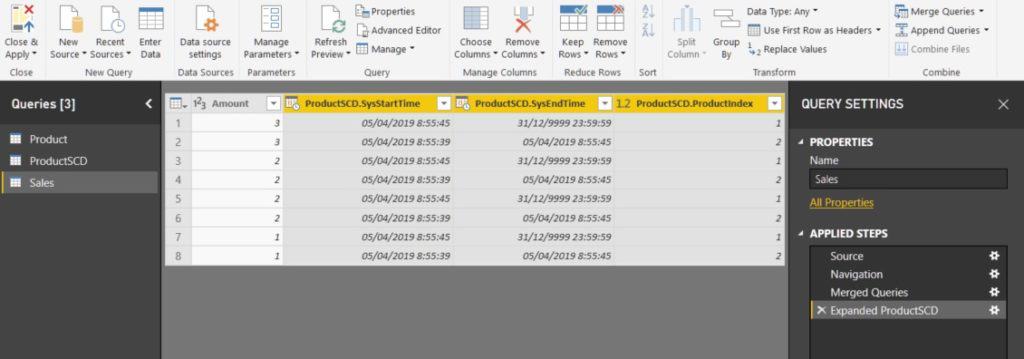
Next, we merge the “Sales” table with the “ProductSCD” table in order to get the linked values from that table. We join them using the ProductId field, and we then expand the field to add the ProductIndex, SysStartTime and SysEndTime from the “ProductSCD” table.

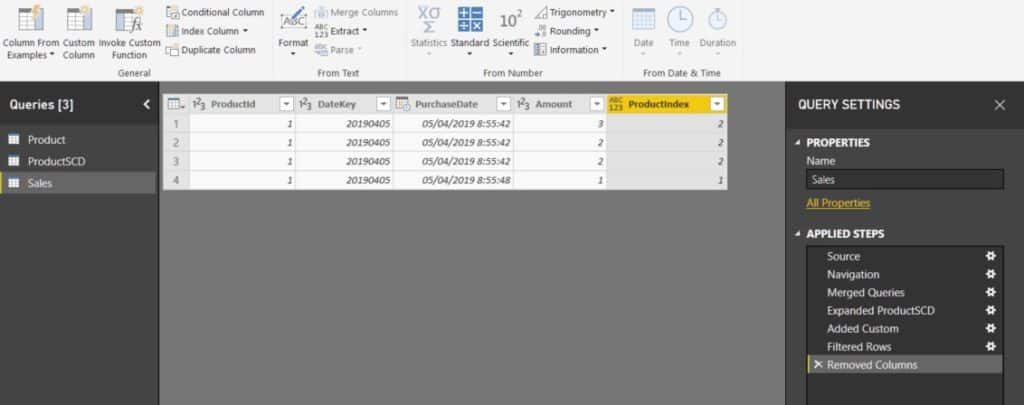
We now want to create a new field in the “Sales” table that will link to the correct ProductIndex field. For this we add a custom column named “ProductIndex” to the “Sales” table with the following code:
if [ProductSCD.ProductIndex] = null

then 0

else

if ([PurchaseDate] >= [ProductSCD.SysStartTime] and [PurchaseDate] < [ProductSCD.SysEndTime])

then [ProductSCD.ProductIndex]

else 0
We then filter the new column to only show rows where the value is > 0 and we delete the linked ProductSCD rows we loaded in the merge as they aren’t necessary anymore, and we click on “Close and Apply” to apply the changes to our model.

Step3: Join with the new dimension
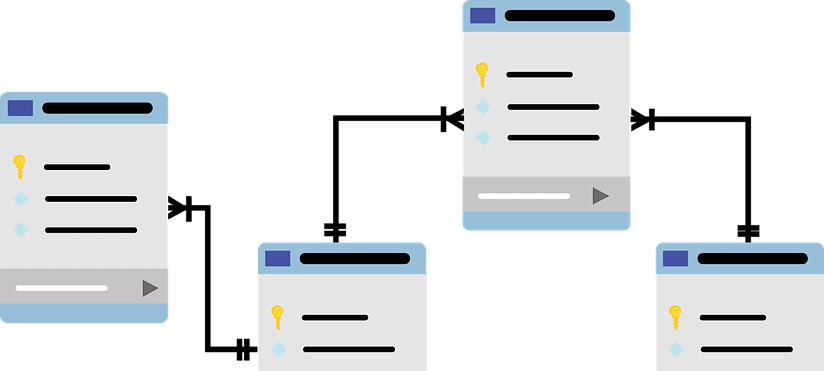
If we successfully completed all the steps described up to this point, we should be able to link our “Sales” table to our “ProductSCD” table using the ProductIndex fields.

If we now create the same table as we did at the beginning but with our new “ProductSCD” dimension table we will be able to see the data we were expecting.

SCD & Power BI
As we have seen, using SQL Server temporal tables and a bit of tweaking in Power BI, we can easily track changes in our dimensions without the need to implement and manage SCDs in our ETL process.


